Cleaning up your Winter Wellies and Walking Boots over the Christmas Season

Clean boots on a carpet

If your family love to get out and about over the Christmas period and take a walk in the lovely, but sometimes muddy, Yorkshire wilderness then a solid cleaning routine for your footwear is a must.

Wellies and rubber boots

Kids love mud and mud loves wellies! You might come back from a seemingly mud-free walk and your kids’ wellies could be caked in the stuff. But thankfully it comes off almost as easily as it goes on, especially if you tackle it as soon as you can before it dries on.


The best and easiest way is to blast the wellies with a hosepipe to rinse the mud away. If needed, an old broomhead or soft-bristled brush will help you to get mud that’s stuck onto the soles. Once all the mud has been removed, give the wellies a wipe down with a damp cloth and then leave them to dry.


Top tip: If you find scuff marks on wellies, rub them with a pencil eraser or apply a small amount of toothpaste to the area and scuffs should disappear.

Hiking boots

If your hiking boots are waterproof then give them a rinse with water to remove as much mud as you can, but be careful not to soak the inside of the boots. You might need to use the bristles of a brush to get out any stones, twigs or dirt that’s stuck in the grooves of the sole.


To clean extra-muddy laces first remove them from your boots and try to brush off any serious mud with an old toothbrush. You can either soak the laces in a sink or add them to a machine wash if they need it. If doing the latter, make sure that you pop the laces into a secure delicates bag/net for washing tablets so that they don’t escape inside the machine and cause damage.


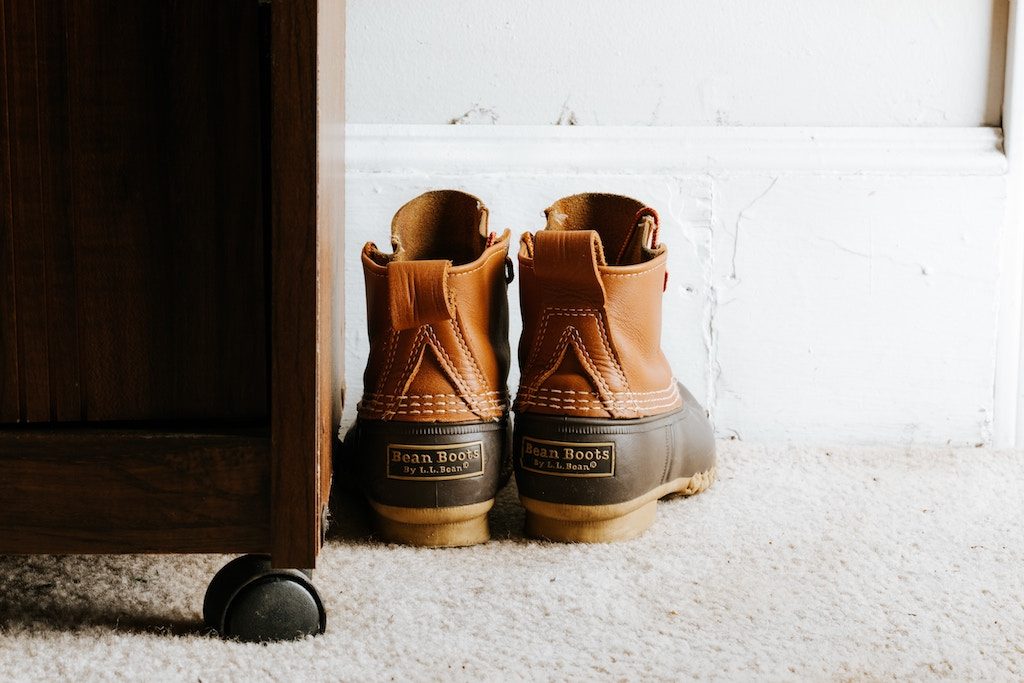
Drying out the insides of footwear

If you’ve been trekking around in the snow or in wet weather then you might have found that you need to dry out the insides of your boots. Using high temperatures such as putting them on a radiator or using a hairdryer can damage the materials of your footwear. Balling up newspaper and stuffing it inside your boots provides a gentle way to dry them out. Regularly change the newspaper until the inside of your boots feel dry.
Is it a tradition for your family to go out over Christmas and take a winter walk? You can find some great inspiration on Christmas Walks from Welcome to Yorkshire.

Easy Fresheners for Your Office Fridge

Coffee beans

It’s your turn to do the tea-run, but you can barely bring yourself to open the fridge and get the milk. It’s a Tuesday, and you know what that means: Linda’s got egg mayo for lunch. Nobody wants to have to face the whiff of a stinky office fridge whenever they open the door. Even the cleanest of fridges can harbour the smells of leftover lunches and smelly sandwich fillings. Leave a small container of these in the fridge and keep things smelling fresh. This one’s for you egg mayonnaise lovers!

Freshly-ground coffee

If your office is a bit fancy and you grind your own coffee beans then grind a few extra and leave them on a plate in the fridge. A small plate of freshly-ground coffee beans will help to neutralise odours and maybe even wake you up a bit every time you open the fridge door!

Baking Soda

A dish of baking soda left in the fridge will neutralise odours and is a great inexpensive alternative to ground coffee, particularly if someone in your office doesn’t like the smell of coffee.

Oranges and Lemons

Fresh lemons

Orange peel that has been bruised a little to release the oils will deodorise and add a lovely citrus smell to the fridge. Place on a plate or tray on one or more of the shelves. Similarly, a lemon cut into halves or quarters and placed around the fridge, flesh-side up, will act to freshen the smell inside.


Take a look at our cleaning services for offices and commercial customers.

Cleaning Up Candle Wax Spills

Hans holding a candle in a jar

Dotting a few candles around a room, especially at this time of year, always makes me feel joyful. Life is just a bit more magical when you add in some soft, flickering candlelight. So it’s good to know a few simple tricks for when there are inevitable candle wax spills.

As a general rule, you will either want to apply heat or freezing temperatures to the wax to help remove it. If you can fit the item in the freezer (and it’s not going to damage the item!) the best option is to let the wax freeze and then break it off. It should come away cleanly leaving little residue.

Wooden surfaces

The key is to warm the wax enough to be able to wipe it off or gently scrape it off without damaging the wood. Use a hairdryer at a distance to heat the wax and something like stiff card to scrape (avoid using anything too hard as it may damage the wood). If the wax leaves a residue then using your regular wood polish should help to remove it.

Baths and sinks

You can be a little firmer with the surfaces of sinks and baths. Use an old bank card or shop reward card to scrape the wax away once it has hardened. Knives and metal objects may cause damage so it’s best to avoid these.

Carpets

The best way to remove wax from a carpet is to lay a paper bag or a few sheets of baking parchment over the spill and go over it with a warm iron. Press down gently and as the wax melts the paper will soak it up.

Fabric

If the fabric item is small enough then it’s best to put it into the freezer to let the wax harden and then break off as much as you can. After this you can use the same method as for carpets. (Or go straight to this step if you’re not able to fit the item in the freezer.) Applying gentle heat and pressure with a warm iron until the wax is all picked up.

Painted walls

First of all try to scrape as much of the wax as you can from the wall using something stiff like a bank card that is not going to damage the wall. After you’ve removed as much as you can, use the warm iron method from above. You may need to try a few times and use kitchen paper for extra absorbency depending on the type of paint on your wall. If a greasy stain still remains then try gently blotting the wall with a mix of 1 part white vinegar and 3 parts warm water.

The Gentle Way to Keep Leather Furniture Clean

Leather sofa

If you already have leather furniture or you’re wondering whether to make the investment, here’s some advice on keeping leather furniture looking sleek and in great condition. It’s actually a lot less scary than you think!

Soft and gentle

Leather furniture doesn’t actually need as much cleaning as fabric sofas and chairs. Where you’ll be regularly hoovering all the gaps and beating the cushions of a fabric sofa to remove crumbs and dust, all a leather one needs is a weekly dusting with a soft cloth. Give the whole thing a vacuum once in a while, but make sure you use an attachment with a soft brush.

Stick to microfibre

We love a microfibre cloth for most of our cleaning duties (you’ll see our team equipped with plenty of them in their cleaning armoury!) and once again they’re the ideal solution for wiping down leather furniture. Just a little water is all you need so that the cloth is damp but not wet. They’re tough enough to pick up any dirt, but still gentle enough to use on leather.

Natural solutions

Once in a while you might feel that your furniture needs freshening up. To keep your furniture in great condition use a mix of water and white vinegar in equal parts. After you’ve dusted and wiped away any crumbs, dip your microfibre cloth in the mixture (giving it a good squeeze to make sure it’s not sodden) and wipe over the surface of the leather. It’s best to test this first in a small inconspicuous spot before going over the whole piece. Dry the leather thoroughly with a soft and clean towel before replacing cushions or using again.

Restoring the shine

There are different kinds of leather, so this entirely depends upon what you have, but if you want to rehydrate the surface of your furniture and return the shine then use a natural solution of 1 part white vinegar to 2 parts of linseed oil. Gently rub this onto the surface using a fresh microfibre cloth and leave overnight. The next day, buff the leather with a clean and soft cloth to restore the shine to the surface.

Staining situations

As with everything, try to tackle a stain as quickly as you can, but don’t panic! There’s usually a way to remove it, or at least improve it.

Liquids

For spilt liquids make sure to soak up as much as you can by laying some kitchen roll or a clean cloth over the top. Blot the area, but don’t rub it as you may damage the leather. If a water mark is still visible after drying, try the gentle routine above with the equal parts of vinegar and water every so often for a few weeks and hopefully the stain should fade. For darker stains like red wine and ink, you may need to contact the manufacturer of your furniture.

Oils and grease

Again try to blot as much of the oil up as you can, kitchen towel is ideal for this but you could use other tissues or an absorbent clean cloth. Once you have taken up as much as you can, cover the stain with bicarbonate of soda or talcum powder, leave for a couple of minutes then brush away with a soft brush. You may need to do this a few times. Again, if the stain is not improving then you may need to get in touch with the manufacturer.


N.B. These are general tips for gentle cleaning of leather furniture. Please refer to the advice given by your manufacturer in the first instance and try any new cleaning techniques on a small area as a test of how the leather reacts.

5 Quick Tips for a Productive Office Space

Laptop, plant, notebook and coffee cup on a desk

When you’re spending most of your waking hours in the office, creating a space where you actually want to spend your time can make a huge difference to how productive you are at work. Here are a few tips from us on how to make the most of your desk-space.

Declutter

A cluttered and untidy desk can really sap your energy, and when you need to get something done you might find that all the papers, sticky notes and coffee cups distract you from your purpose and stop you getting the job done. Clear away everything you don’t need, make use of desk tidies and pen pots (a nice mug or cup can add a personal touch to your workspace), only keep the things that you use regularly on your desktop. A clear space leads to a clear mind.

Mind the gaps

Take a few moments to up-end your keyboard, especially if you’re someone who ends up eating at their desk, you might be surprised at all the crumbs that fall out. A great tip for getting any stubborn bits that are wedged in there is to take a sticky note and run the sticky edge through the gaps a few times. This works brilliantly for keyboards, mice and any other equipment with small gaps.

Make it personal

If you spend most of your weekdays at your desk it makes sense to add a bit of personality to your space. For those lucky enough to be able to ‘decorate’ you could add photos or prints that you like as well as plants for a breath of life and fresh air (take a look at our post on indoor plants for some tips on the ideal plant for you). If things are more restrictive where you work then perhaps just adding some nice stationery to your space can make it feel more personal.

Get into a routine

Set aside a couple of minutes at the end of each day to do a quick tidy up, do your filing, put things back in drawers and clear away anything that you don’t need on your desk. If there’s something you know you’ll need in a few days then jot it down on a sticky note or notepad so that you don’t forget. Starting your next workday with a clean and clutter free desk will help you to hit the ground running.

Organise

Assign certain spaces on your desk for certain things. One side of your desk could be where you keep everything that’s awaiting action and the other side could be everything that’s complete. Add trays and box files to keep everything neat. If you want to make your desk space next level introduce colour coding to keep your tasks and projects in order.