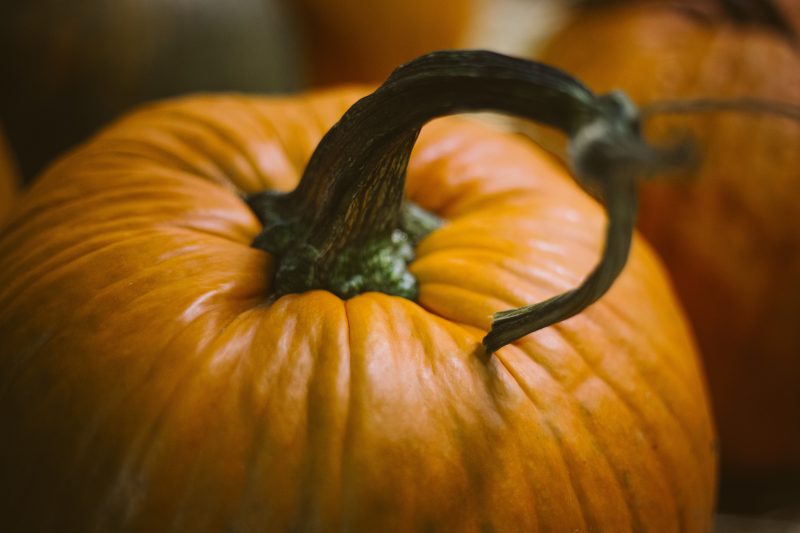
It’s that time of year again where we’re gearing up for the autumn/winter party season. And it all kicks off with Halloween, which means it’s pumpkin carving time!
So here are my tips for cleaning out your pumpkin to give you the perfect canvas for your Halloween masterpiece.
The best time to clean out your pumpkin is as close to the time you’re going to carve as possible. A warm pumpkin is much easier to cut into so start by bringing your pumpkin to room temperature by leaving it out in a warm room for a few hours, or overnight if you can. Next using some warm soapy water, clean the outside of the pumpkin and dry off thoroughly using some kitchen paper. This will reduce the bacteria that can get into the flesh when you start cutting and should mean that your masterpiece lasts a little longer.
Using a serrated knife (a kitchen one will do the trick), carefully cut a decent sized lid out the top of your pumpkin. Once you’ve removed the lid you can get at all those lovely insides. Pull out as much as you can with your hands and put the fibres and seeds to one side in a bowl (check the recipe below for a tasty reason to keep these!). With an ice cream scoop or sturdy metal spoon, firmly scrape the remaining seeds and fibres away from the flesh. Scrape away lightly at the flesh and get the inside surface as clean and smooth as possible. Don’t forget to do the same for your lid and make sure there are no stray fibres hanging around there either. It’s all about giving your pumpkin the best chances at survival.
Now your pumpkin is ready for carving. If you’ve not decided on a design yet then The Pumpkin Lady has some great printable templates that are free to download. Usually a combination of kitchen utensils is all you need for carving but you can get some great carving kits from local supermarkets at this time of year. Which is a great idea if you’re getting the kids involved!
Once you’ve carved your design keep the pumpkin as cold as possible and spray with a solution of bleach diluted with water. This will kill the bacteria that gets into the flesh through the cuts you’ve made and should make your perfect pumpkin last a little longer.
Toasted Pumpkin Seeds Recipe
Remember those seeds you put to one side earlier? You can make a tasty snack, soup or salad topper with them. Nothing goes to waste in this house!
- Preheat your oven to 180
- Wash the pumpkin gunk off the seeds
- Dry the seeds thoroughly
- Toss in your choice of seasoning (my favourite is vanilla sugar which makes them perfect for adding to cereal in the morning)
- Spread out on a baking sheet
- Bake for 10 minutes, remove from the oven and mix them around a little, then bake for a further 6-8 minutes (keep a close eye on them if you’re doing a sweet version as they can catch easily)
- Remove from the oven to cool
- Store in tupperware or a jar, or start snacking – depending on your level of willpower right now
Good luck with your pumpkin carving and have a great Halloween!
Next time – how to get those stubborn fake blood and face-paint stains out.