Get Your Party Prep Right for an Easy Morning After Clean-Up

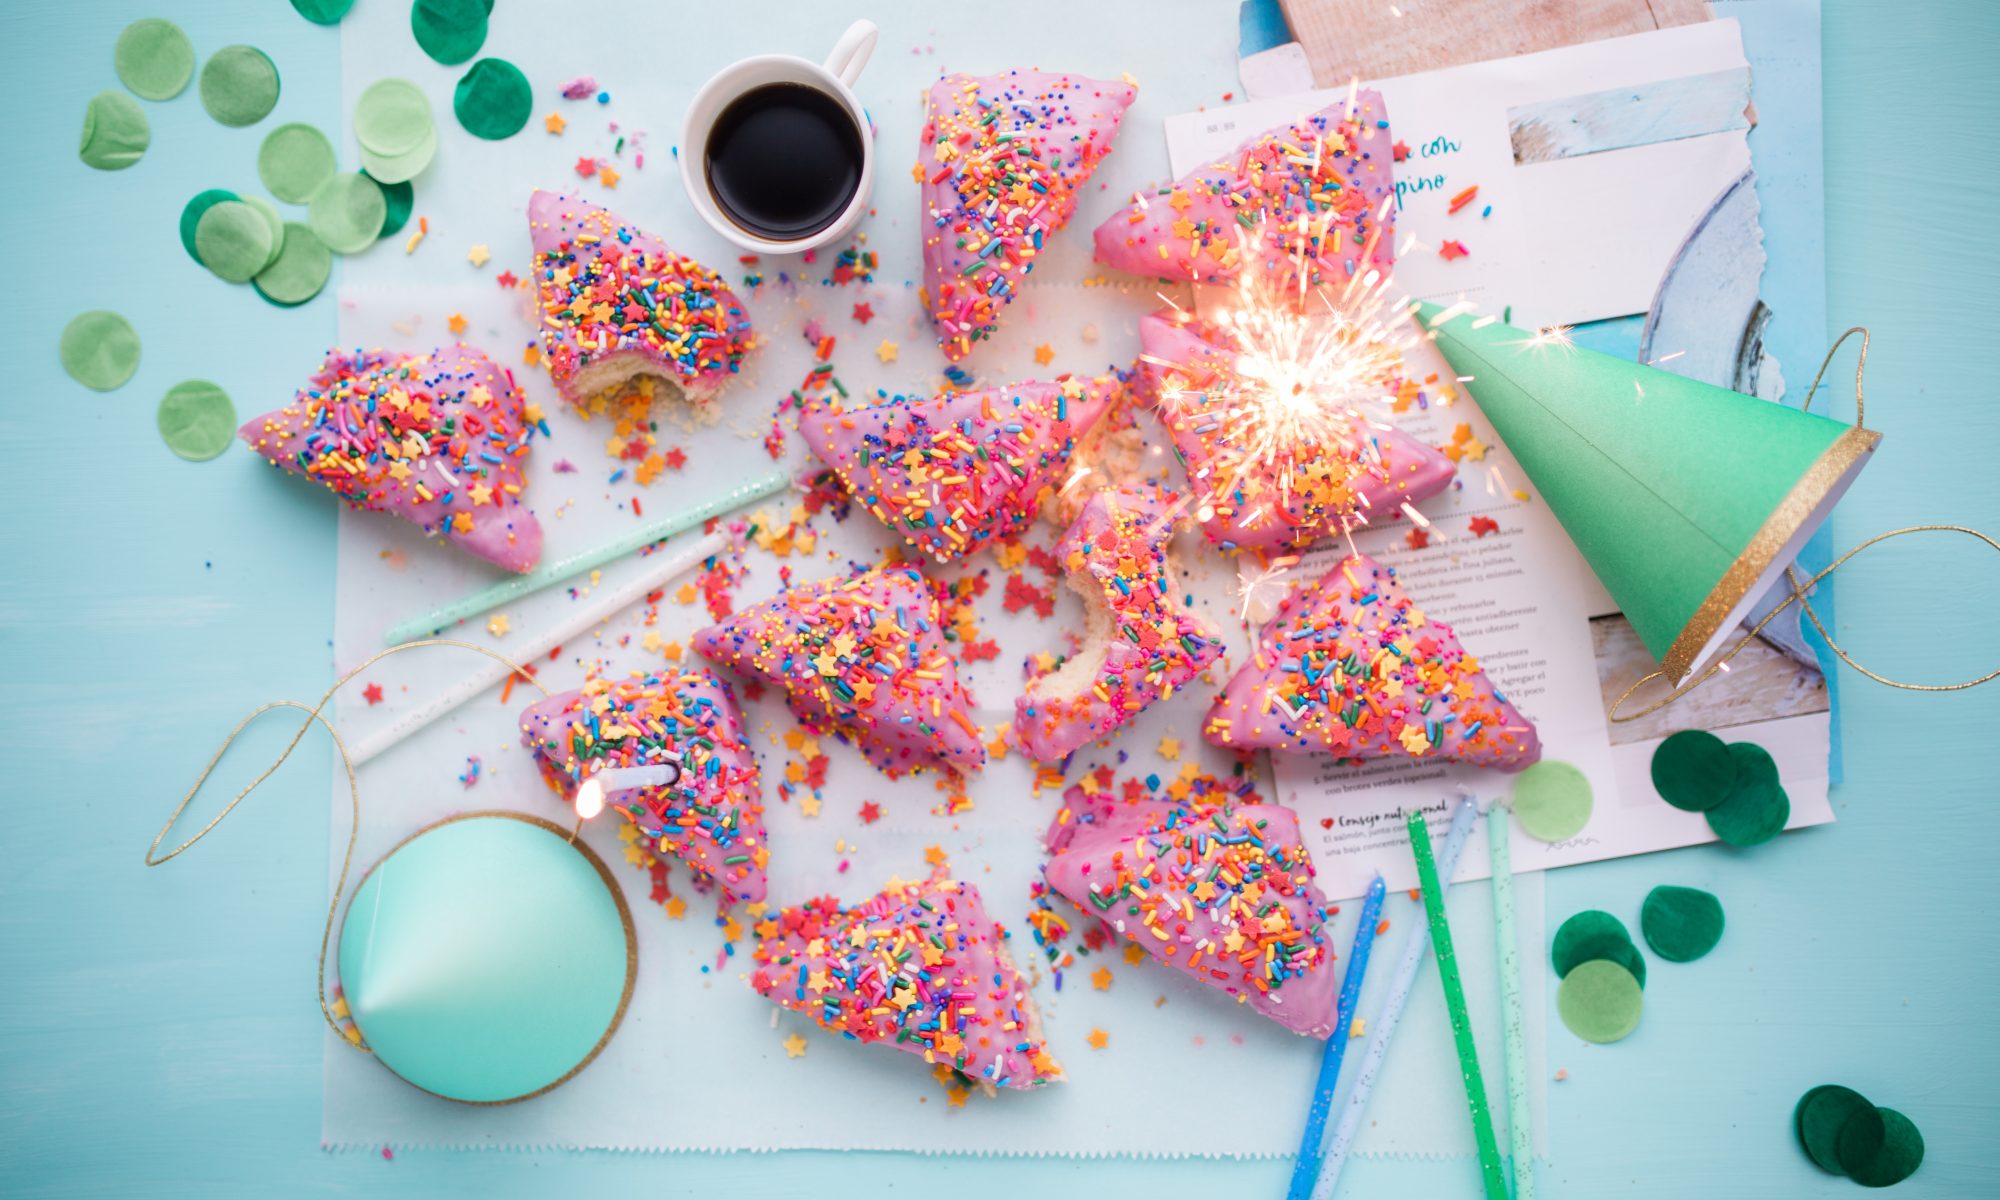
Party hats, cake and sparklers

It’s the season of the summer bash. Friends enjoying BBQs and Pimms on the lawn. With all those people, bits of food and drink you might end up with a big clean-up job on your hands the morning after (not what you need when you’re feeling the post-party effects!). But with our tips on how to keep the mess at bay you’ll be able to enjoy your party to the max without worrying about the next day.

Bags and bins

Place rubbish bags and bins in every room and near every food station. Paper plates, plastic cups, disposable cutlery and cans will all go straight in and all you’ll have to do is put them in your dustbin the next day. If you’re recycling, make sure you clearly mark the different piles for each material to make it easy for your guests to throw things in and to save you from having to sort through later.

You’ll be surprised how much rubbish your guests will get through so make sure you have plenty of spare bags in easy to reach places.

Tablecloths

Cover your tables and surfaces with tablecloths and you can simply shake them down and pop them in the washing machine. A great tip if you’re worried about drink spills is to lay a bin liner over the table before putting your tablecloth on top. That way if any liquid gets spilled it won’t soak through onto the table’s surface.

The dishes

Things are much easier if you’re using disposable partyware and there are some fantastic biodegradable plates and cups out there that are made from renewable materials. But if you’re using a few choice serving dishes and plates then our top tip is to start the party with an empty dishwasher, that way things can go straight in and you don’t have to unload and put everything away before you can clear away mess.

We’d also recommend filling your washing up bowl with soapy water so that things can be put in there to soak and to keep them all in one place.

Spill kit

There are always going to be spills at a party. You can prepare for it though, without looking like a panicky host! Put together a stain remover spray and some cloths as well as a roll of kitchen towel and keep it somewhere easy to access that way you’ll be ready to go when the inevitable moment comes!

Food choices

When thinking about food for your party, keep your clean-up in mind. The messier the food you’re serving, the more you’ll have to clean up in the morning. If you stick to small biteable pieces and avoid anything too saucy then you’re onto a win. Of course, if you’re guests are bringing dishes with them you can’t always control this. If someone turns up with something that looks a bit saucy then strategically place it near napkins and away from any clean carpets!

Take the morning off

For the ultimate in easy post-party clean up, let us do it! You can be free to take to the city centre for a much needed breakfast and coffee. There are some pretty good pancakes on offer at more than a few places in York. While you’re out enjoying some much needed fresh air and relaxation we’ll take care of all the rubbish, spills and mess that might be lingering in your home. You’ll come back through the front door to a clean and fresh sight. The only evidence of the night before will be on social media 😉


Tell us about your next event and we’ll get your pre- and post party clean sorted.
Perfect Pumpkin Carving at Halloween

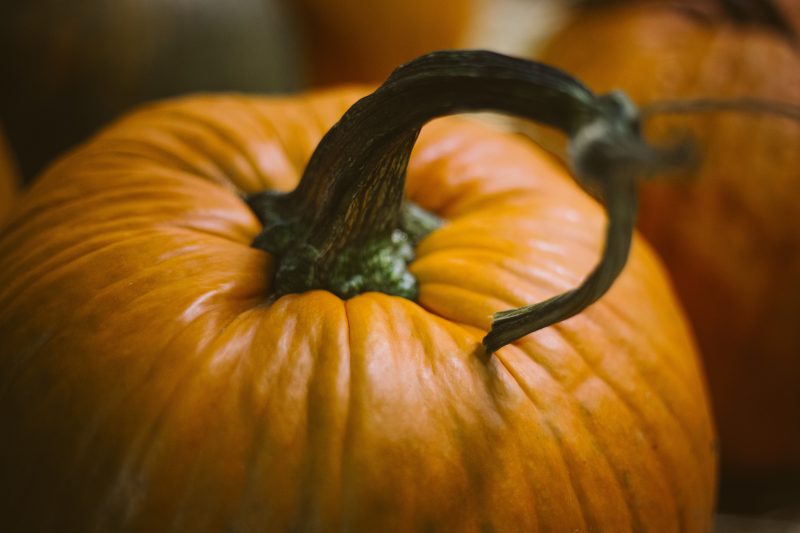
An orange pumpkin with a stalk

It’s that time of year again where we’re gearing up for the autumn/winter party season. And it all kicks off with Halloween, which means it’s pumpkin carving time!


So here are my tips for cleaning out your pumpkin to give you the perfect canvas for your Halloween masterpiece.


The best time to clean out your pumpkin is as close to the time you’re going to carve as possible. A warm pumpkin is much easier to cut into so start by bringing your pumpkin to room temperature by leaving it out in a warm room for a few hours, or overnight if you can. Next using some warm soapy water, clean the outside of the pumpkin and dry off thoroughly using some kitchen paper. This will reduce the bacteria that can get into the flesh when you start cutting and should mean that your masterpiece lasts a little longer.


Using a serrated knife (a kitchen one will do the trick), carefully cut a decent sized lid out the top of your pumpkin. Once you’ve removed the lid you can get at all those lovely insides. Pull out as much as you can with your hands and put the fibres and seeds to one side in a bowl (check the recipe below for a tasty reason to keep these!). With an ice cream scoop or sturdy metal spoon, firmly scrape the remaining seeds and fibres away from the flesh. Scrape away lightly at the flesh and get the inside surface as clean and smooth as possible. Don’t forget to do the same for your lid and make sure there are no stray fibres hanging around there either. It’s all about giving your pumpkin the best chances at survival.


Now your pumpkin is ready for carving. If you’ve not decided on a design yet then The Pumpkin Lady has some great printable templates that are free to download. Usually a combination of kitchen utensils is all you need for carving but you can get some great carving kits from local supermarkets at this time of year. Which is a great idea if you’re getting the kids involved!


Once you’ve carved your design keep the pumpkin as cold as possible and spray with a solution of bleach diluted with water. This will kill the bacteria that gets into the flesh through the cuts you’ve made and should make your perfect pumpkin last a little longer.


Toasted Pumpkin Seeds Recipe


Remember those seeds you put to one side earlier? You can make a tasty snack, soup or salad topper with them. Nothing goes to waste in this house!


  1. Preheat your oven to 180
  2. Wash the pumpkin gunk off the seeds
  3. Dry the seeds thoroughly
  4. Toss in your choice of seasoning (my favourite is vanilla sugar which makes them perfect for adding to cereal in the morning)
  5. Spread out on a baking sheet
  6. Bake for 10 minutes, remove from the oven and mix them around a little, then bake for a further 6-8 minutes (keep a close eye on them if you’re doing a sweet version as they can catch easily)
  7. Remove from the oven to cool
  8. Store in tupperware or a jar, or start snacking – depending on your level of willpower right now

Good luck with your pumpkin carving and have a great Halloween!
Next time – how to get those stubborn fake blood and face-paint stains out.