
No matter how clean and tidy your kitchen is, if your bin’s not clean you’ll soon know about it. Even when you’re really careful about scraping leftovers in and making sure everything stays within the lining, somehow, something always gets through and leaves a stink, or even worse creates dreaded bin juice! Bleugh! Not to worry, a clean and fresh kitchen bin is only a few steps away, and we have some great tips for keeping it that way for longer.
Get your gloves on
You’re definitely going to need a good pair of rubber gloves for this job, it can get pretty grotty if your bin hasn’t been cleaned in a while.
Take out the rubbish
Empty the bin of any rubbish and check for any big bits of food or wrappers that you can get now so that they don’t block up your drains later. Separate the inner container from the outer part of your bin if this is the type that you have.
Get washing
If you can, do this part outside, ideally with a hose if you have one or by filling up a container with water. Alternatively you could clean your bin in your bathtub or shower. Give the whole bin (inner and outer) a good rinse to begin with to make sure that any food particles stuck in the form of the bin are washed away. Then using some warm water and washing up liquid, quarter-fill the inner container and give everything a scrub with a bristle brush (a fresh toilet brush or washing-up brush is ideal for this). Make sure to scrub the outer part of your bin too as food often gets stuck in the catches and mechanisms. Give the whole thing a rinse again when you’re done.
Disinfect and dry
Armed with a disinfectant spray and plenty of kitchen roll, spray and wipe the bin all over. Paying particular attention to the lid if you have a touch-open system. Now let your bin dry out completely. And we mean completely. You don’t want to invite moisture back into the bin as it will quickly provide a nice breeding ground for bacteria.
Add a final flourish
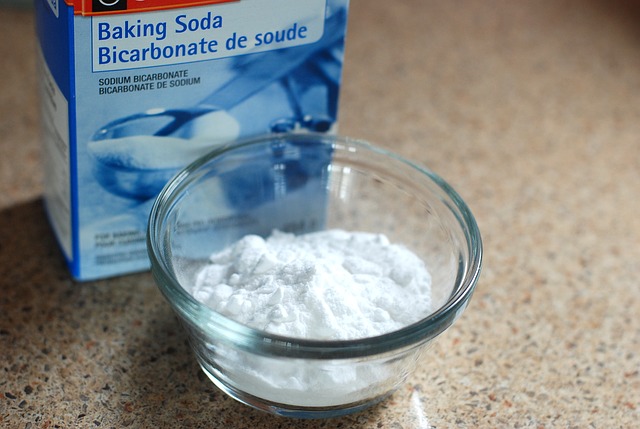
Once your bin has dried out there are a few things you can do to keep it fresh for longer. Ideally you want to keep the inside of your bin as dry as possible so adding something in to suck up the moisture is the way to go. We recommend shaking some baking powder in the bottom or, even better, adding a pile of fresh cat litter before putting a bin liner in. You may even want to add a few drops of an essential oil, like tea tree or bergamot, for extra fragrance.
And that’s it! No more bad smells filling up your kitchen every time the bin is opened. You can take off your rubber gloves and relax now.
