Easy Fresheners for Your Office Fridge

Coffee beans

It’s your turn to do the tea-run, but you can barely bring yourself to open the fridge and get the milk. It’s a Tuesday, and you know what that means: Linda’s got egg mayo for lunch. Nobody wants to have to face the whiff of a stinky office fridge whenever they open the door. Even the cleanest of fridges can harbour the smells of leftover lunches and smelly sandwich fillings. Leave a small container of these in the fridge and keep things smelling fresh. This one’s for you egg mayonnaise lovers!

Freshly-ground coffee

If your office is a bit fancy and you grind your own coffee beans then grind a few extra and leave them on a plate in the fridge. A small plate of freshly-ground coffee beans will help to neutralise odours and maybe even wake you up a bit every time you open the fridge door!

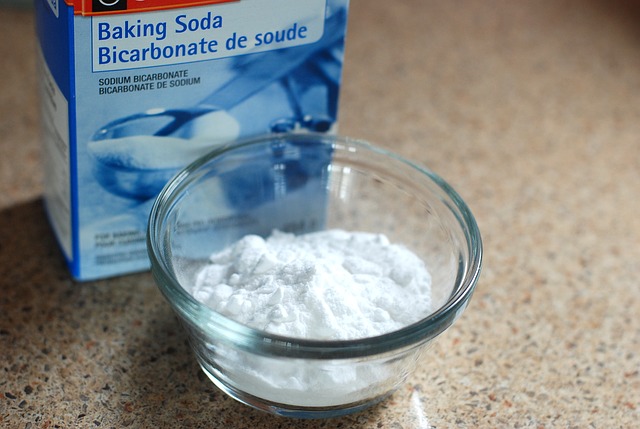
Baking Soda

A dish of baking soda left in the fridge will neutralise odours and is a great inexpensive alternative to ground coffee, particularly if someone in your office doesn’t like the smell of coffee.

Oranges and Lemons

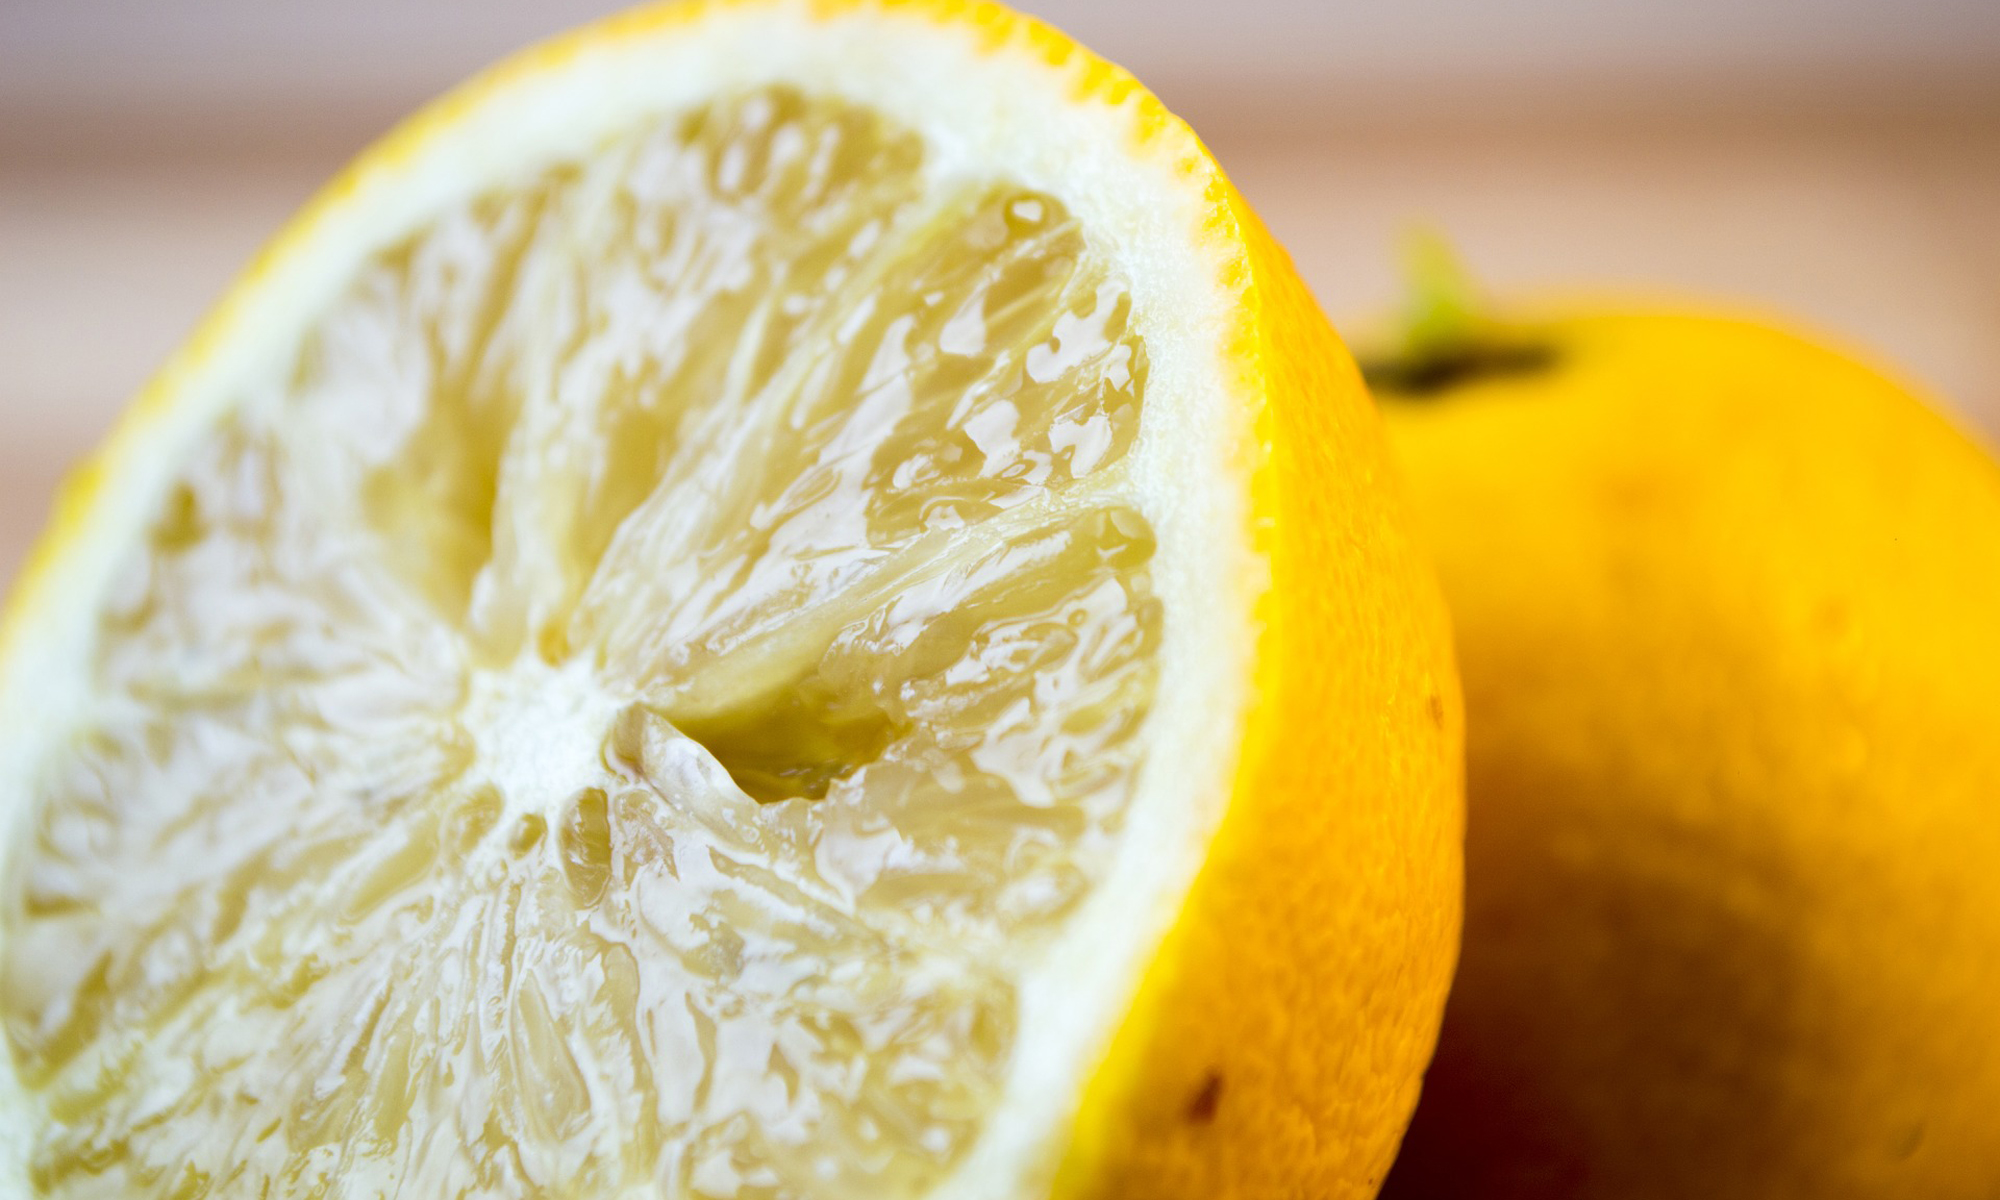
Fresh lemons

Orange peel that has been bruised a little to release the oils will deodorise and add a lovely citrus smell to the fridge. Place on a plate or tray on one or more of the shelves. Similarly, a lemon cut into halves or quarters and placed around the fridge, flesh-side up, will act to freshen the smell inside.


Take a look at our cleaning services for offices and commercial customers.

Cleaning Up Candle Wax Spills

Hans holding a candle in a jar

Dotting a few candles around a room, especially at this time of year, always makes me feel joyful. Life is just a bit more magical when you add in some soft, flickering candlelight. So it’s good to know a few simple tricks for when there are inevitable candle wax spills.

As a general rule, you will either want to apply heat or freezing temperatures to the wax to help remove it. If you can fit the item in the freezer (and it’s not going to damage the item!) the best option is to let the wax freeze and then break it off. It should come away cleanly leaving little residue.

Wooden surfaces

The key is to warm the wax enough to be able to wipe it off or gently scrape it off without damaging the wood. Use a hairdryer at a distance to heat the wax and something like stiff card to scrape (avoid using anything too hard as it may damage the wood). If the wax leaves a residue then using your regular wood polish should help to remove it.

Baths and sinks

You can be a little firmer with the surfaces of sinks and baths. Use an old bank card or shop reward card to scrape the wax away once it has hardened. Knives and metal objects may cause damage so it’s best to avoid these.

Carpets

The best way to remove wax from a carpet is to lay a paper bag or a few sheets of baking parchment over the spill and go over it with a warm iron. Press down gently and as the wax melts the paper will soak it up.

Fabric

If the fabric item is small enough then it’s best to put it into the freezer to let the wax harden and then break off as much as you can. After this you can use the same method as for carpets. (Or go straight to this step if you’re not able to fit the item in the freezer.) Applying gentle heat and pressure with a warm iron until the wax is all picked up.

Painted walls

First of all try to scrape as much of the wax as you can from the wall using something stiff like a bank card that is not going to damage the wall. After you’ve removed as much as you can, use the warm iron method from above. You may need to try a few times and use kitchen paper for extra absorbency depending on the type of paint on your wall. If a greasy stain still remains then try gently blotting the wall with a mix of 1 part white vinegar and 3 parts warm water.

The Gentle Way to Keep Leather Furniture Clean

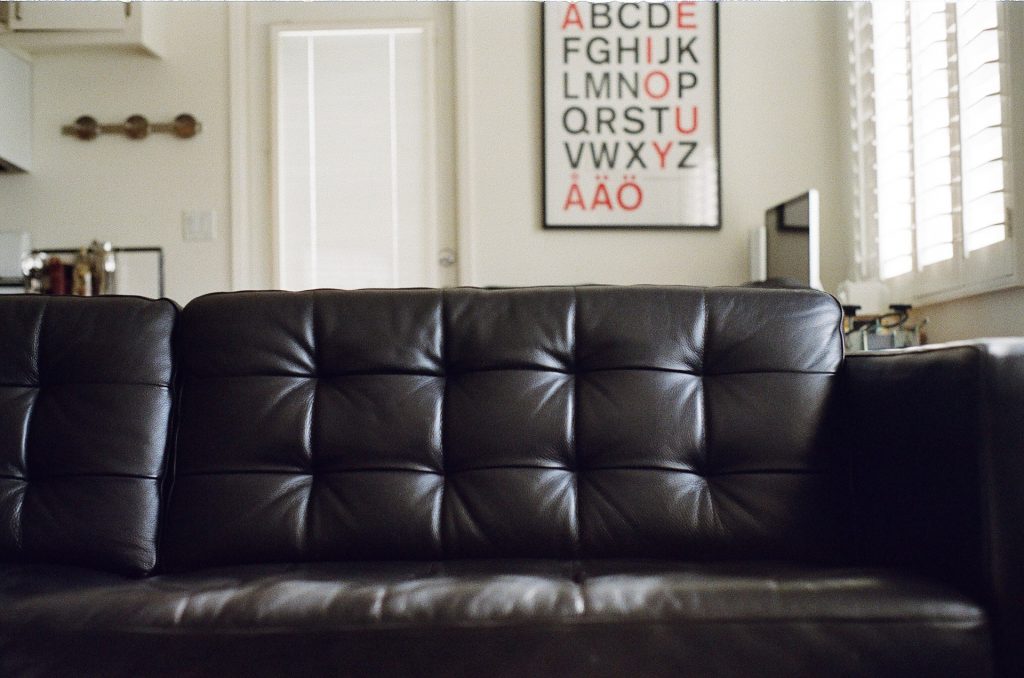
Leather sofa

If you already have leather furniture or you’re wondering whether to make the investment, here’s some advice on keeping leather furniture looking sleek and in great condition. It’s actually a lot less scary than you think!

Soft and gentle

Leather furniture doesn’t actually need as much cleaning as fabric sofas and chairs. Where you’ll be regularly hoovering all the gaps and beating the cushions of a fabric sofa to remove crumbs and dust, all a leather one needs is a weekly dusting with a soft cloth. Give the whole thing a vacuum once in a while, but make sure you use an attachment with a soft brush.

Stick to microfibre

We love a microfibre cloth for most of our cleaning duties (you’ll see our team equipped with plenty of them in their cleaning armoury!) and once again they’re the ideal solution for wiping down leather furniture. Just a little water is all you need so that the cloth is damp but not wet. They’re tough enough to pick up any dirt, but still gentle enough to use on leather.

Natural solutions

Once in a while you might feel that your furniture needs freshening up. To keep your furniture in great condition use a mix of water and white vinegar in equal parts. After you’ve dusted and wiped away any crumbs, dip your microfibre cloth in the mixture (giving it a good squeeze to make sure it’s not sodden) and wipe over the surface of the leather. It’s best to test this first in a small inconspicuous spot before going over the whole piece. Dry the leather thoroughly with a soft and clean towel before replacing cushions or using again.

Restoring the shine

There are different kinds of leather, so this entirely depends upon what you have, but if you want to rehydrate the surface of your furniture and return the shine then use a natural solution of 1 part white vinegar to 2 parts of linseed oil. Gently rub this onto the surface using a fresh microfibre cloth and leave overnight. The next day, buff the leather with a clean and soft cloth to restore the shine to the surface.

Staining situations

As with everything, try to tackle a stain as quickly as you can, but don’t panic! There’s usually a way to remove it, or at least improve it.

Liquids

For spilt liquids make sure to soak up as much as you can by laying some kitchen roll or a clean cloth over the top. Blot the area, but don’t rub it as you may damage the leather. If a water mark is still visible after drying, try the gentle routine above with the equal parts of vinegar and water every so often for a few weeks and hopefully the stain should fade. For darker stains like red wine and ink, you may need to contact the manufacturer of your furniture.

Oils and grease

Again try to blot as much of the oil up as you can, kitchen towel is ideal for this but you could use other tissues or an absorbent clean cloth. Once you have taken up as much as you can, cover the stain with bicarbonate of soda or talcum powder, leave for a couple of minutes then brush away with a soft brush. You may need to do this a few times. Again, if the stain is not improving then you may need to get in touch with the manufacturer.


N.B. These are general tips for gentle cleaning of leather furniture. Please refer to the advice given by your manufacturer in the first instance and try any new cleaning techniques on a small area as a test of how the leather reacts.


How to Keep Your Kitchen Bin Clean and Odour-Free

Baking soda in a bowl

No matter how clean and tidy your kitchen is, if your bin’s not clean you’ll soon know about it. Even when you’re really careful about scraping leftovers in and making sure everything stays within the lining, somehow, something always gets through and leaves a stink, or even worse creates dreaded bin juice! Bleugh! Not to worry, a clean and fresh kitchen bin is only a few steps away, and we have some great tips for keeping it that way for longer.

Get your gloves on

You’re definitely going to need a good pair of rubber gloves for this job, it can get pretty grotty if your bin hasn’t been cleaned in a while.

Take out the rubbish

Empty the bin of any rubbish and check for any big bits of food or wrappers that you can get now so that they don’t block up your drains later. Separate the inner container from the outer part of your bin if this is the type that you have.

Get washing

If you can, do this part outside, ideally with a hose if you have one or by filling up a container with water. Alternatively you could clean your bin in your bathtub or shower. Give the whole bin (inner and outer) a good rinse to begin with to make sure that any food particles stuck in the form of the bin are washed away. Then using some warm water and washing up liquid, quarter-fill the inner container and give everything a scrub with a bristle brush (a fresh toilet brush or washing-up brush is ideal for this). Make sure to scrub the outer part of your bin too as food often gets stuck in the catches and mechanisms. Give the whole thing a rinse again when you’re done.

Disinfect and dry

Armed with a disinfectant spray and plenty of kitchen roll, spray and wipe the bin all over. Paying particular attention to the lid if you have a touch-open system. Now let your bin dry out completely. And we mean completely. You don’t want to invite moisture back into the bin as it will quickly provide a nice breeding ground for bacteria.

Add a final flourish

Once your bin has dried out there are a few things you can do to keep it fresh for longer. Ideally you want to keep the inside of your bin as dry as possible so adding something in to suck up the moisture is the way to go. We recommend shaking some baking powder in the bottom or, even better, adding a pile of fresh cat litter before putting a bin liner in. You may even want to add a few drops of an essential oil, like tea tree or bergamot, for extra fragrance.

And that’s it! No more bad smells filling up your kitchen every time the bin is opened. You can take off your rubber gloves and relax now.

Lemons! The Easiest Way To Clean Your Microwave

Lemons cut in half
Cleaning the microwave is a job that usually gets left way too long. Nobody likes doing it. The inside of your microwave probably harbours the history of many meals passed. But there’s a quick and easy way to get it clean and smelling fresh and it’s as simple as heating up some soup!

All you need is that wonderful fruit that is friend to cleaners everywhere. The glorious lemon!

I promise that this method is much easier and cheaper than using any kitchen spray and has the added bonus of being a non-toxic way of cleaning a food prep area.

So here’s what you’ll need:

  • A lemon
  • A microwaveable bowl or jug half-filled with water (the wider the opening the better – so that the water doesn’t boil over the top)
  • Oven gloves for removing the bowl from the microwave
  • Kitchen towel or cleaning cloths

Take the lemon and cut it in half, squeeze the juice into the bowl of water and then drop the halves in there as well.

Microwave the bowl of water and lemons for 3 minutes on full power so that the water starts to boil. When it’s finished, leave the bowl in the microwave for an additional 2 minutes. Don’t open the door until the 2 minutes are over – you want to let the heat and steam do its work on any particularly bad parts.

Carefully remove the bowl of water. Wipe around the inside of the microwave with the kitchen towel or cloths. You might get through quite a few depending on how greasy things are in there! All the grime should come away easily but if there are some particularly stubborn bits you can always microwave the bowl for another minute to create some more steam.

Your microwave should now be looking as good as new and smelling beautiful.