How to Keep Your Kitchen Bin Clean and Odour-Free

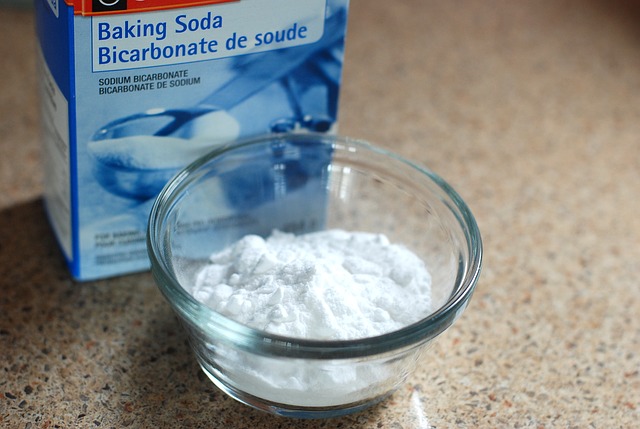
Baking soda in a bowl

No matter how clean and tidy your kitchen is, if your bin’s not clean you’ll soon know about it. Even when you’re really careful about scraping leftovers in and making sure everything stays within the lining, somehow, something always gets through and leaves a stink, or even worse creates dreaded bin juice! Bleugh! Not to worry, a clean and fresh kitchen bin is only a few steps away, and we have some great tips for keeping it that way for longer.

Get your gloves on

You’re definitely going to need a good pair of rubber gloves for this job, it can get pretty grotty if your bin hasn’t been cleaned in a while.

Take out the rubbish

Empty the bin of any rubbish and check for any big bits of food or wrappers that you can get now so that they don’t block up your drains later. Separate the inner container from the outer part of your bin if this is the type that you have.

Get washing

If you can, do this part outside, ideally with a hose if you have one or by filling up a container with water. Alternatively you could clean your bin in your bathtub or shower. Give the whole bin (inner and outer) a good rinse to begin with to make sure that any food particles stuck in the form of the bin are washed away. Then using some warm water and washing up liquid, quarter-fill the inner container and give everything a scrub with a bristle brush (a fresh toilet brush or washing-up brush is ideal for this). Make sure to scrub the outer part of your bin too as food often gets stuck in the catches and mechanisms. Give the whole thing a rinse again when you’re done.

Disinfect and dry

Armed with a disinfectant spray and plenty of kitchen roll, spray and wipe the bin all over. Paying particular attention to the lid if you have a touch-open system. Now let your bin dry out completely. And we mean completely. You don’t want to invite moisture back into the bin as it will quickly provide a nice breeding ground for bacteria.

Add a final flourish

Once your bin has dried out there are a few things you can do to keep it fresh for longer. Ideally you want to keep the inside of your bin as dry as possible so adding something in to suck up the moisture is the way to go. We recommend shaking some baking powder in the bottom or, even better, adding a pile of fresh cat litter before putting a bin liner in. You may even want to add a few drops of an essential oil, like tea tree or bergamot, for extra fragrance.

And that’s it! No more bad smells filling up your kitchen every time the bin is opened. You can take off your rubber gloves and relax now.

New! Carpet Cleaning in York

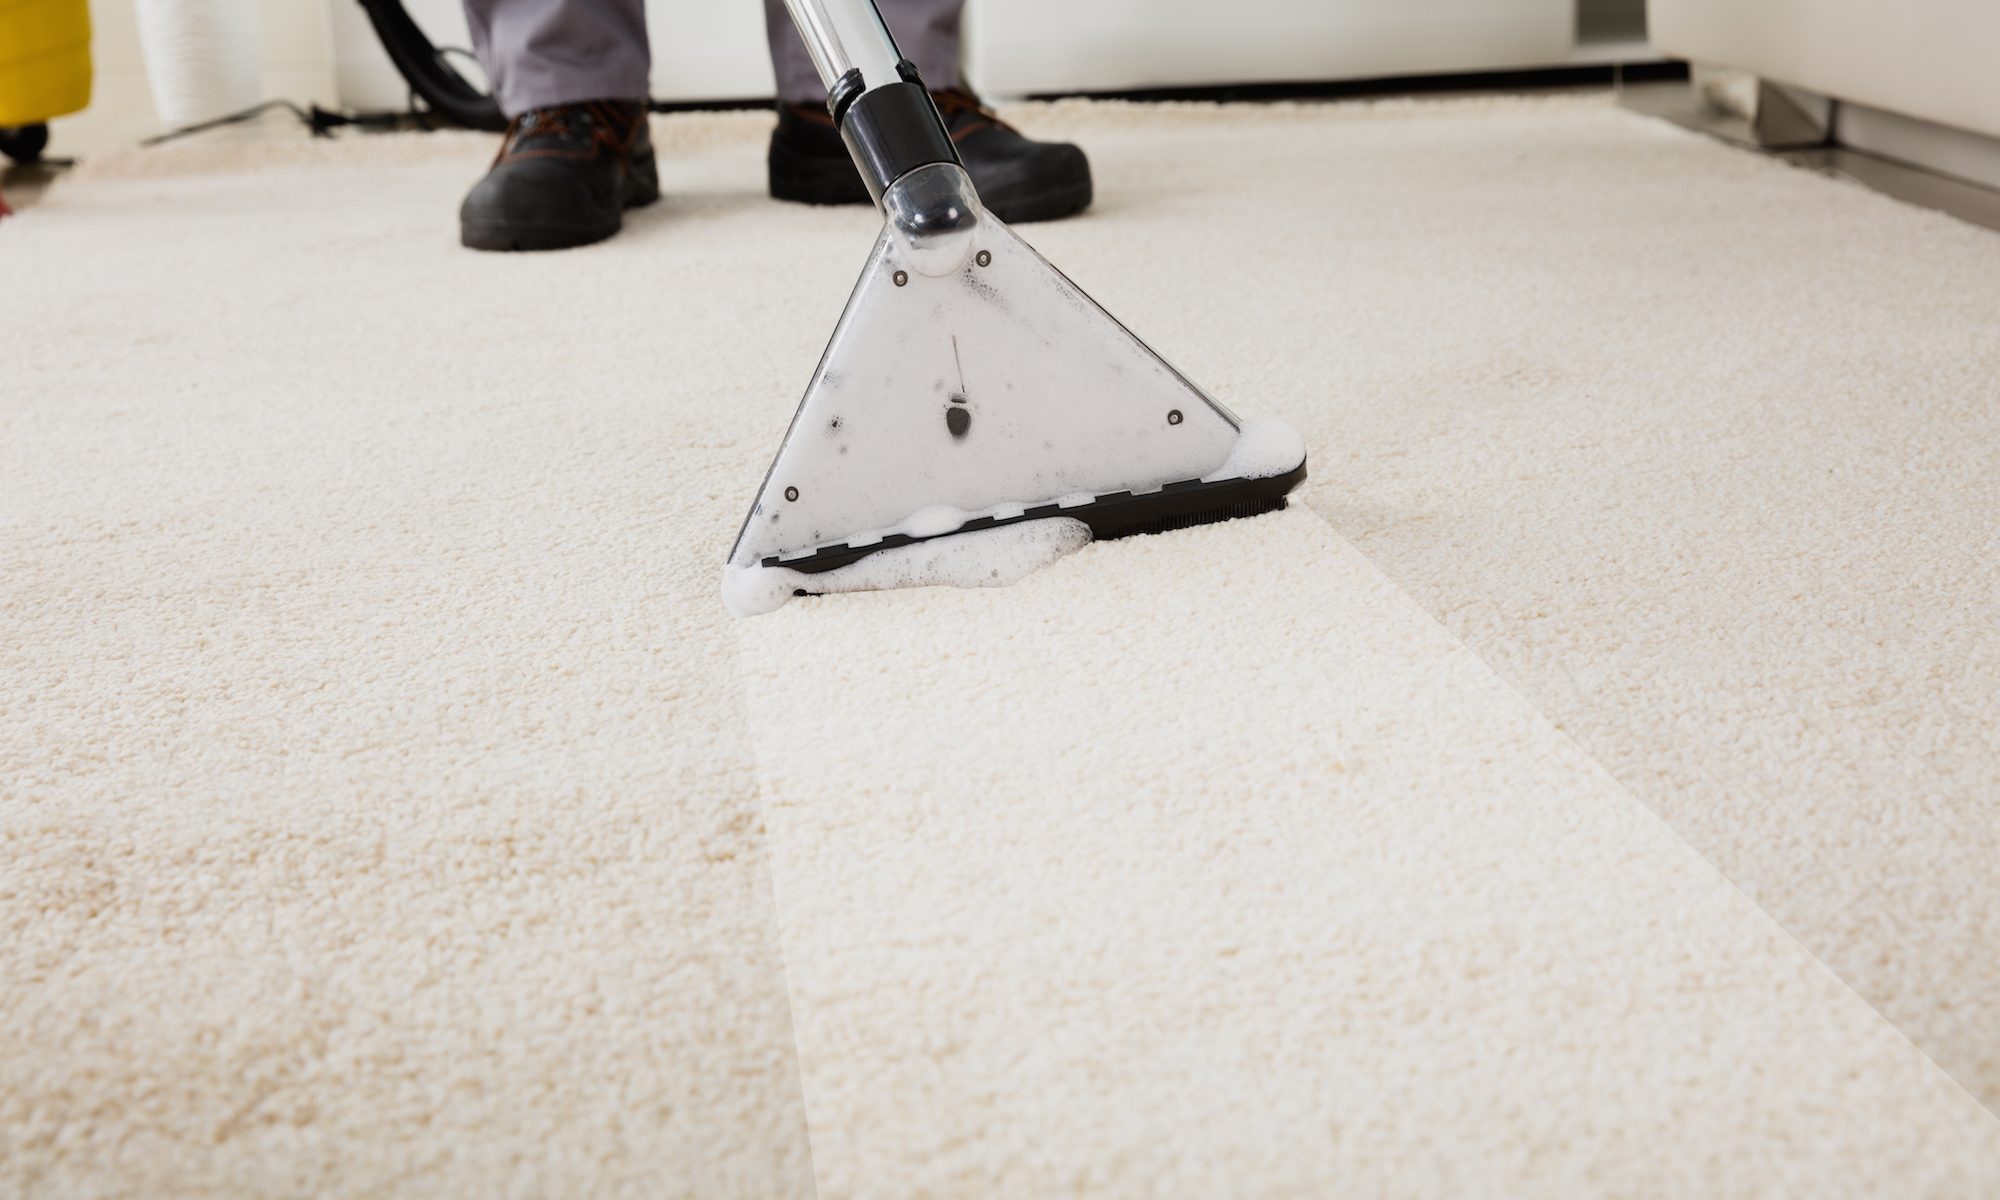
Equipment leaving a path of clean carpet behind it
We’re pleased to announce that we’ve added professional carpet cleaning to the range of cleaning services that we offer to domestic and commercial customers in York and the surrounding area.

Why have carpets professionally cleaned?

Regular deep cleaning can extend the life of carpets throughout your home, office or property saving you the need to make costly replacements and in some cases protecting the warranty on your purchase. A professional clean can also improve both the look and feel of your carpets, restoring them to their former glory and making them feel like new.
We know that cleaning carpets is a big job that can take a lot of time and effort without the right equipment. So we’re happy to take the hassle out of it for you and get the great results that you’re looking for.


Give us a call now on 07597 235 574 for a no obligation quote.

Get Your Party Prep Right for an Easy Morning After Clean-Up

Party hats, cake and sparklers

It’s the season of the summer bash. Friends enjoying BBQs and Pimms on the lawn. With all those people, bits of food and drink you might end up with a big clean-up job on your hands the morning after (not what you need when you’re feeling the post-party effects!). But with our tips on how to keep the mess at bay you’ll be able to enjoy your party to the max without worrying about the next day.

Bags and bins

Place rubbish bags and bins in every room and near every food station. Paper plates, plastic cups, disposable cutlery and cans will all go straight in and all you’ll have to do is put them in your dustbin the next day. If you’re recycling, make sure you clearly mark the different piles for each material to make it easy for your guests to throw things in and to save you from having to sort through later.

You’ll be surprised how much rubbish your guests will get through so make sure you have plenty of spare bags in easy to reach places.

Tablecloths

Cover your tables and surfaces with tablecloths and you can simply shake them down and pop them in the washing machine. A great tip if you’re worried about drink spills is to lay a bin liner over the table before putting your tablecloth on top. That way if any liquid gets spilled it won’t soak through onto the table’s surface.

The dishes

Things are much easier if you’re using disposable partyware and there are some fantastic biodegradable plates and cups out there that are made from renewable materials. But if you’re using a few choice serving dishes and plates then our top tip is to start the party with an empty dishwasher, that way things can go straight in and you don’t have to unload and put everything away before you can clear away mess.

We’d also recommend filling your washing up bowl with soapy water so that things can be put in there to soak and to keep them all in one place.

Spill kit

There are always going to be spills at a party. You can prepare for it though, without looking like a panicky host! Put together a stain remover spray and some cloths as well as a roll of kitchen towel and keep it somewhere easy to access that way you’ll be ready to go when the inevitable moment comes!

Food choices

When thinking about food for your party, keep your clean-up in mind. The messier the food you’re serving, the more you’ll have to clean up in the morning. If you stick to small biteable pieces and avoid anything too saucy then you’re onto a win. Of course, if you’re guests are bringing dishes with them you can’t always control this. If someone turns up with something that looks a bit saucy then strategically place it near napkins and away from any clean carpets!

Take the morning off

For the ultimate in easy post-party clean up, let us do it! You can be free to take to the city centre for a much needed breakfast and coffee. There are some pretty good pancakes on offer at more than a few places in York. While you’re out enjoying some much needed fresh air and relaxation we’ll take care of all the rubbish, spills and mess that might be lingering in your home. You’ll come back through the front door to a clean and fresh sight. The only evidence of the night before will be on social media 😉


Tell us about your next event and we’ll get your pre- and post party clean sorted.

Your Seasonal Wardrobe Sort-Out

Clothes hanging on a rail
The sun’s out! Yes! It’s time to put all those thick jumpers and big coats away and give shorts, t-shirts, skirts and dresses their chance to get out into the big wide world. Here are our tips for a swift, low-hassle summer wardrobe sort-out.


A great excuse for a declutter

First step is to go through clothes, shoes and accessories for the entire household to see if there’s anything that can be given to charity, sold, swapped or recycled if it’s no good. There’s no point in packing away things that nobody’s ever going to wear again.


Clean and dry

Make sure that all your clothes are clean and completely dry before packing them away. If you pack away items with any moisture then this might turn into mildew and mould and ruin all your clothes before you get to wear them again. Don’t just clean your clothes, now is a great time to give your wardrobes and drawers a good vacuum clean too as you’ll be emptying them out anyway.


Boxes and bags

Find some boxes and bags that will keep your items clean and dust-free over the season. Plastic boxes and bags are best for clothes but try to avoid using cardboard for any long-term storage as it can let moisture in. There are a whole host of plastic boxes available that will fit at the bottom of wardrobes or underneath a bed. If you’re short on space then pick up some of those airtight bags that you put clothes in and then suck all the air out with the vacuum cleaner. For a low-budget solution use suitcases, rucksacks and supermarket ‘bags for life’.


Space to store

Decide where you’re going to store your seasonal items as this will dictate the kinds of boxes and bags you need to find. If you’re thinking of stashing your clothes in your loft then it’s probably best to opt for some of the vac-pack bags to keep any cold and moisture off. You might also want to consider how likely it is that you’ll need to get at the items again. We all know how fickle the British weather is so there might be the odd day where you need something a bit cosier.


Label, label, label

Pack away your things in an organised way and you’ll thank yourself when it comes to changing your seasonal wardrobe back. If you clearly label your boxes and bags then should you need to find something mid-season you won’t end up with clothes everywhere and having to go through the whole packing process again.

What are your tips for a quick and easy wardrobe refresh?

Lemons! The Easiest Way To Clean Your Microwave

Lemons cut in half
Cleaning the microwave is a job that usually gets left way too long. Nobody likes doing it. The inside of your microwave probably harbours the history of many meals passed. But there’s a quick and easy way to get it clean and smelling fresh and it’s as simple as heating up some soup!

All you need is that wonderful fruit that is friend to cleaners everywhere. The glorious lemon!

I promise that this method is much easier and cheaper than using any kitchen spray and has the added bonus of being a non-toxic way of cleaning a food prep area.

So here’s what you’ll need:

  • A lemon
  • A microwaveable bowl or jug half-filled with water (the wider the opening the better – so that the water doesn’t boil over the top)
  • Oven gloves for removing the bowl from the microwave
  • Kitchen towel or cleaning cloths

Take the lemon and cut it in half, squeeze the juice into the bowl of water and then drop the halves in there as well.

Microwave the bowl of water and lemons for 3 minutes on full power so that the water starts to boil. When it’s finished, leave the bowl in the microwave for an additional 2 minutes. Don’t open the door until the 2 minutes are over – you want to let the heat and steam do its work on any particularly bad parts.

Carefully remove the bowl of water. Wipe around the inside of the microwave with the kitchen towel or cloths. You might get through quite a few depending on how greasy things are in there! All the grime should come away easily but if there are some particularly stubborn bits you can always microwave the bowl for another minute to create some more steam.

Your microwave should now be looking as good as new and smelling beautiful.